


I recently set up SSO on our Rubrik backup device and had a hard time finding a thorough walkthrough, so I put this together in hopes that it will help someone else out. My suggestion would be to read it over once paying attention to the notes I threw in there before starting. Ready? Ok, let’s do it!
We’ll start with configuring an Identity Provider (IDP) in Rubrik, then we’ll jump back and forth between Azure Active Directory (AAD), and back to Rubrik to get everything set up, so I’d suggest keeping them open in separate windows or tabs.
Begin Configuration of an Identity Provider in Rubrik
Let’s start In Rubrik (this article was written using version 5.3.2-p3-19174):
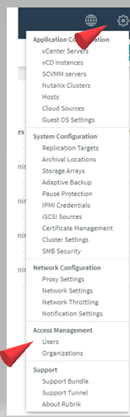
Login with an admin account, go to settings / users, then click on the identity providers tab

- Click on
 (in the top-right)
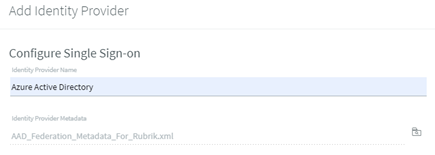
 - Fill out the Identity Provider Name & Service provider host address (I used our internal DNS name for our Rubrik appliance, but the IP address would work too), then download Rubrik Metadata (note the file name & location, you’ll need it for an upcoming step)
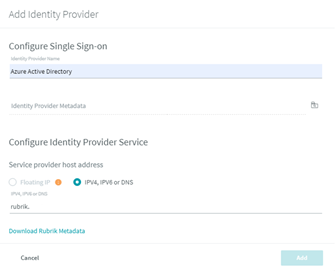
- Leave this page up while we work on AAD, we’ll be coming back to it
Configure an Enterprise Application in AAD
In Azure AD (https://aad.portal.azure.com):
Go to AAD admin center, click on  (on the left), then
  (at the top), and
  (at the top)
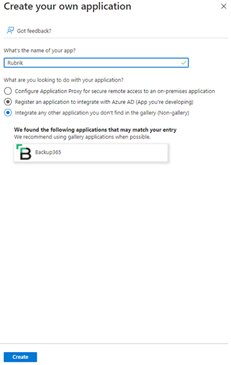
Name your app & select “Integrate any other application you don’t find in the gallery (Non-gallery), then click  (at the bottom)
Click on  (on the left), then
  on the right.
Click on which brings up the box below

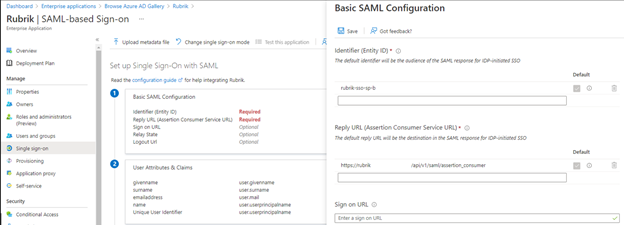
Here’s where you specify the file you downloaded from Rubrik (click the  on the right to browse for it). After clicking
  , you should be taken to a screen like the following with the identifier & reply URL populated. With both of those in place, let’s click on

Next, click on  (on the left) then
  (at the top), then click on
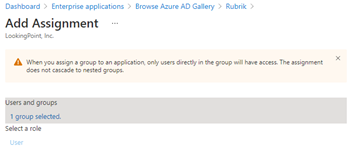
 then search and select your users and/or groups that you want to allow to login to Rubrik
 , and finally click
  at the bottom. You should see a screen like the following:
Then click on  at the bottom.

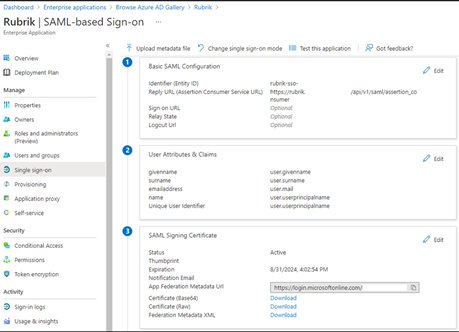
Now let’s go back to  and we should have an Identifier & Reply URL specified like below. Next, download the Federation Metadata XML (shown at the bottom of this screenshot) and note the name & location:
Complete Configuration of an Identity Provider in Rubrik
Now back to Rubrik:
You left that webpage open, right? Let’s click on  and select the XML file we just downloaded. Then click on
Assigning Roles in Rubrik
Rubrik support verified with me that searching the IDP from the Rubrik roles doesn’t work, so we’ll need to check our Azure AD user or group for the exact, case-sensitive name to be used in Rubrik before adding them.

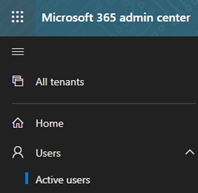
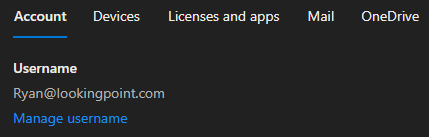
I went to https://admin.microsoft.com and looked up the Username under Active users.
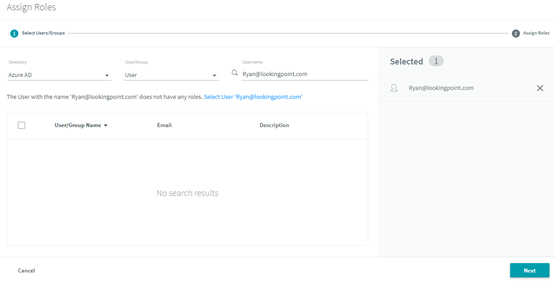
Next, on Rubrik, go to the tab (2 tabs to the left of Identity Provider) and click
  , then click on
  the blue link to select user (make sure it shows up on the right as Selected), and click
  .
.
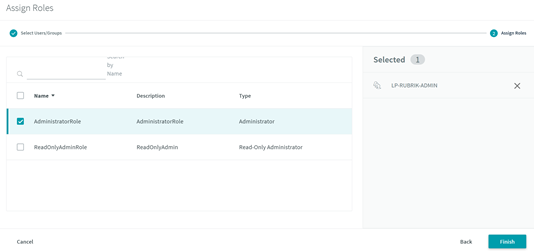
In my case, I’m setting myself up as an administrator, so I gave the administrator role & clicked  .
.
Test the configuration
Now that the setup is done, in Rubrik, go to the Identity Providers tab again, then click the  and test and hopefully you’ll see this result at the top right:

The first time I tested, I got this error:
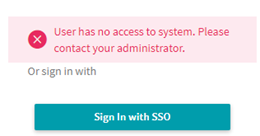
After working with the awesome support at Rubrik, they gave me 2 suggestions. First, I followed the instructions in this article which may be needed to alleviate this issue:

https://support.rubrik.com/s/article/000004506
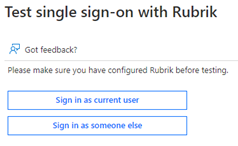
For troubleshooting, you can also do a test from the application in Azure. At the top of the Single sign-on, is a link

You can test from AAD with the account you signed into Azure with, or you can sign in as someone else.
Conclusion
In conclusion, there were a few little “gotchas” as I went through this process, but I hope I was able to put the steps and notes together to help you avoid them. If the time I spent working with support & figuring this out and documenting it saves someone else a little frustration, then it was all worth it. I must admit, being able to login via SSO is pretty cool too.
It just so happens that LookingPoint offers multiple IT services if you’re interested. Want more information, give us a call! Please reach out to us at sales@lookingpoint.com and we’ll be happy to help!

Ryan Alibrando, Managed Services Team Lead