Welcome back! In this blog we’re going to take a detour from our TrustSec series to introduce some modern endpoint management techniques in Microsoft Intune. Almost every customer we are working with is starting the journey to modern endpoint management with Microsoft Intune. As the functionality of Azure AD + Intune continues to mature, that once far away thought of shutting down those Microsoft Active Directory Domain Controllers, seems to be inching forward. The thought of that eventuality does send shivers down my spine, but it is all in the name of progress! Being that this blog focuses largely on zero-trust and network access control, those will be the bits that we will touch on here as it relates to Microsoft Intune. That being said, a natural place for us to start is 802.1x native supplicant provisioning via Microsoft Intune.
A Few Assumptions
It is not my goal (or desire!) to cover all of the pre-requisites in this particular write up, so let’s establish a few assumptions around the existing environment.
- We will be pretending that Microsoft Active Directory DOES NOT EXIST! (So that we can’t leverage any functionality provided by it) Welcome to the brave new world.
- A SCEP (Simple Certificate Enrollment Protocol) server has already been instantiated and we have in our possession the SCEP enrollment URL to provide to our Intune configuration profile. In our case, we are leveraging a private, SaaS delivered PKI by the name of SecureW2.
- The Windows10 endpoints we are targeting with these configuration profiles have already been enrolled as corporate owned devices into MS Intune. They are Azure AD joined as well, although this bit is not relevant for this procedure (you could follow the same procedure for a Windows 10 personal device if you allow those to enroll to your MS Intune).
- We have, in fact, already provisioned the SCEP configuration profile for our Windows 10 devices (both device and user certificates).
Windows 10 – Wired Supplicant Provisioning
Since we already have the SCEP configuration in place, there are two bits left to do.
#1 – Configure the “Wired AutoConfig” service to start and set the startup type to Automatic.
#2 – Configure the native supplicant with our desired EAP configuration
Wired AutoConfig
First things first! For this part we will leverage and Intune Powershell Script. To begin, use a text editor to save the below script as a “.ps1” file type. We will upload this in a few steps to MS Intune.
|
get-service -DisplayName "Wired AutoConfig" | Set-Service -StartupType Automatic get-service -DisplayName "Wired AutoConfig" | Set-Service -Status Running |
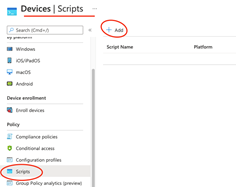
Now navigate to your Intune admin center at https://endpoint.microsoft.com and make your way to Devices > Scripts > Add > Windows10!
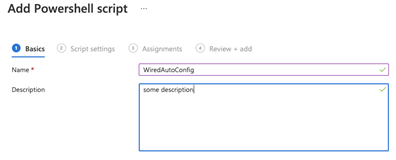
Fill out the Basics and click Next!
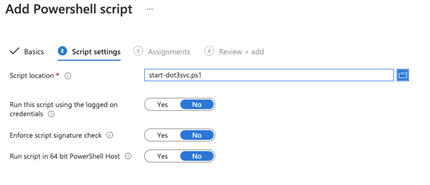
Update the Script Settings and click Next!
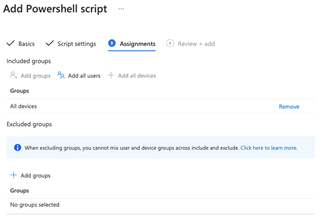
Make your Assignments and click Next!
Review it and click Add!
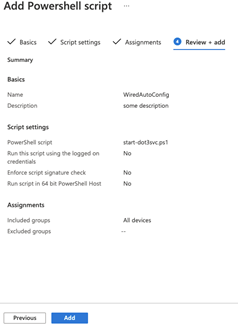
After the next sync, the device should have the wired auto config service started up!

Wired AutoConfig
The very first thing you will notice about pushing a wired configuration profile from Intune is that they do not yet have a pre-built template for this! Hopefully they do someday, but for now we will have to leverage a MS Intune Custom configuration template.
For starters, we need to manually configure the native supplicant on a Windows10 machine with the exact settings we want. We will then export that supplicant configuration to an XML file that we will ultimately upload into our MS Intune Custom configuration template. After you have configured the native supplicant to your liking, export the configuration using the Windows CMD prompt as follows.
Use “netsh lan show profile” to get the name of the interface. In this case it is “Ethernet”.
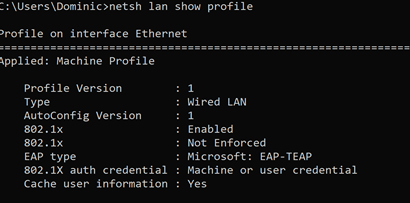
Then use “netsh lan export profile folder=. interface=Ethernet” to export the XML we want.

Now back to Intune administration…
Devices > Configuration Profiles > Create Profile > Windows 10 > Templates > Custom > Create!
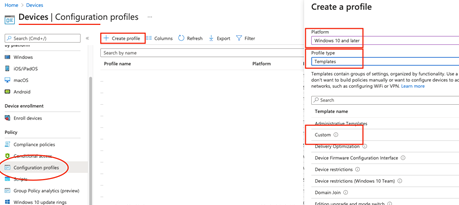
Fill out the Basics and click Next!
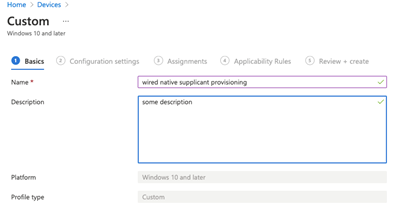
Click Add and fill out the OMA-URI Information as follows. Select the XML file we exported above, click Save and then Next!
|
OMA-URI |
|
./Device/Vendor/MSFT/WiredNetwork/LanXML |
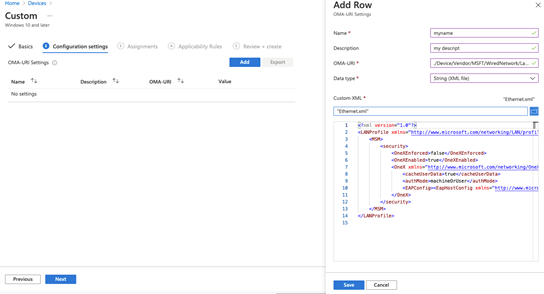
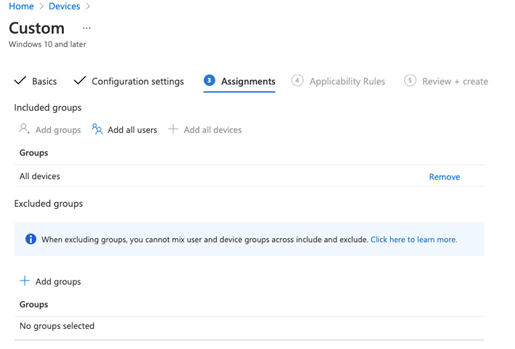
Make your Assignments and click Next all the way through Applicability Rules!
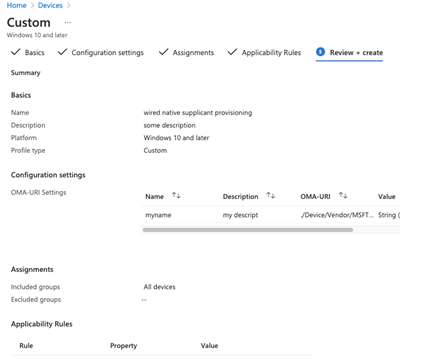
Finally, click Create!
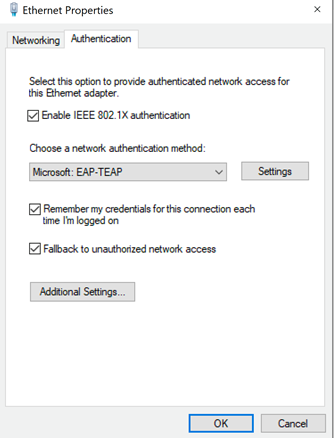
After the devices next check in, you should see your configuration has been pushed to the Native Supplicant! Great work!!
What’s Next?
We took a quick look at central provisioning of the wired native 802.1x supplicant in Windows10 via Microsoft Intune. In the next entry in this series, perhaps we’ll take a look at the wireless provisioning via Microsoft Intune and maybe get into some more details around the pre-requisites that we skimmed over in this entry (SCEP, etc..). Thanks for reading!
As always if you have any questions on getting Cisco's ISE set up for you and your business and would like to schedule a free consultation with us, please reach out to us at sales@lookingpoint.com and we’ll be happy to help!
Want the answers to the most asked questions about ISE? Check out our video below!
Dominic Zeni, LookingPoint Consulting Services SME - CCIE #26686


