


Hello world! Today I bring you a short, but informative nugget on how to successfully implement SNMP on your Cisco Firepower Management Center (FMC). SNMP, at a very high level, is a UDP based protocol, using port 161, that is used to monitor communication between Network devices. This protocol is extremely helpful for Network Admins, as it not only gives you visibility of the traffic going between two devices, but it also provides you with flexibility as to WHAT kind of traffic you want visibility of. Let’s take a look at how simple it is to implement this protocol on FMC running version 6.7.
1. The first thing you will want to do is log in of course. 
2. Once logged in, you will be on the “Overview”, or dashboard of the FMC. If you look on the top, right hand corner, you will see a Gear icon, this is the System settings, go ahead and click on it.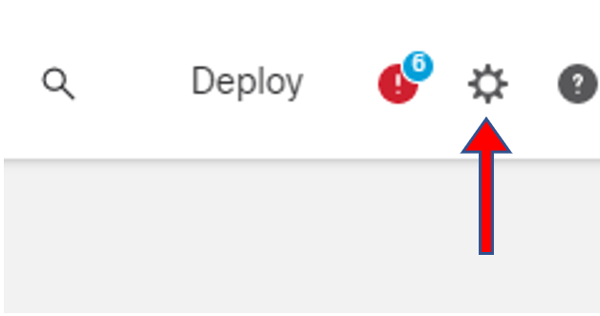
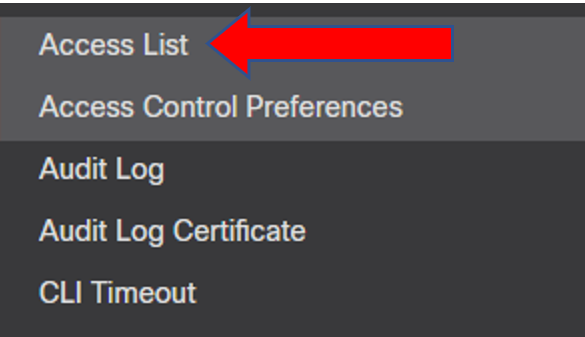
3. After clicking the gear icon, you will see a dropdown with system settings. On the left hand side of the menu, click on “Configuration”.
You are now presented with a long list of configuration settings on the left, and system information on the right, such as the name of your FMC, Operating system, version, etc.

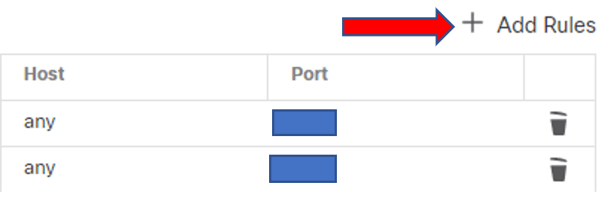
Assuming that you have created ACL’s previously, you will see a list of Rules. In order for SNMP to be successfully implemented on the FMC, we need to create a rule specifying WHAT kind of traffic we will be allowing. In order to do so, lets click Add Rules. NOTE: SNMP will not work if this step is not taken!
5. You will now be prompted to enter an IP address. The IP address should be that of the device that will be retrieving SNMP information from this FMC. Then, make sure to check off the SNMP box and click Add.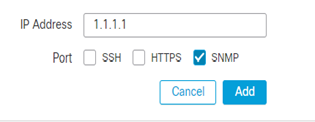
6. As you can see, we have successfully created an ACL rule allowing SNMP port 161 to our list.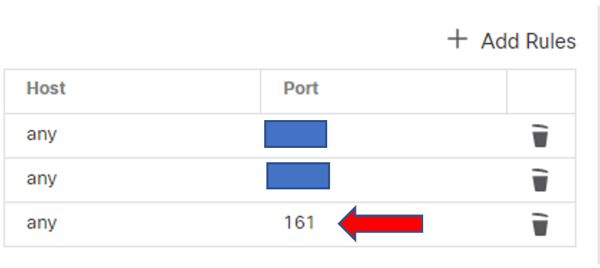
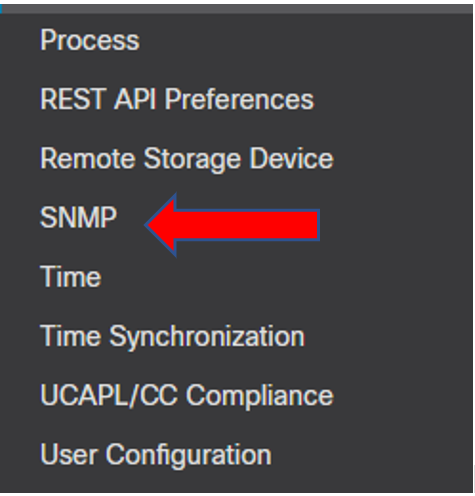
7. Now, looking back at the list of configuration settings on the left, towards the bottom, choose the option SNMP.
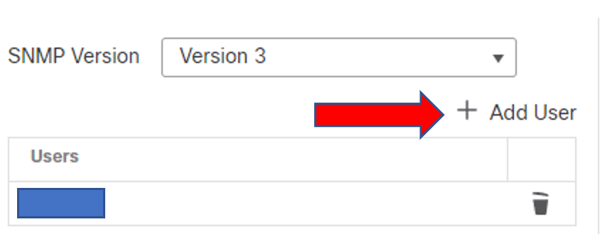
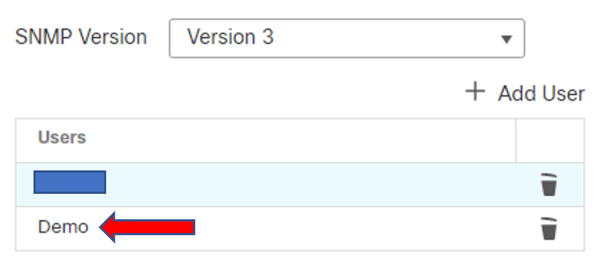
8. This will then bring up a list of SNMP user profiles configured on the FMC. This time instead of creating an ACL, you will need to create a user profile for SNMP. You have the capability to choose what version of SNMP you desire to use from the dropdown menu. For this example, we will be using SNMPv3, which is not only the latest version, but also highly recommended for security reasons. After choosing the version, click on add user.
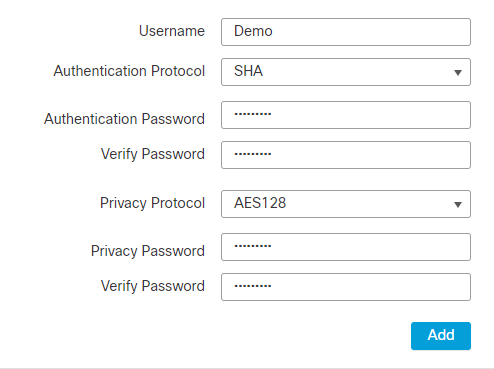
9. In my example, I used SNMPv3, and therefore am prompted to enter a username for my SNMP profile, as well as my authentication credentials. If you choose to user versions 1 or 2 of SNMP, all you would need to enter is the community string. Once your done, simply click Add.
You can now see the user profile I just created has now been added to the list of users.
Congratulations! At this point, SNMP has been successfully configured on the FMC side of things. The next step would be to check you Management system and ensure it is properly setup to receive SNMP information from the FMC.
Not too bad right? Like I said, short and simple. If you have any further questions, please feel free to reach out to us at sales@lookingpoint.com, we would be more than happy to assist you.
Thank you!

Will Panameno, Network Engineer