Today we're talking about Cisco's Webex. We are going to show you how you can save time and improve your overall experience. Essentially, making Webex your best friend!
For the rest of this blog post, we are assuming that you have a Webex account. Webex brings audio and video participants into a conference room, which allows you to share content and perform digital white boarding.
The first place we're going to start is in your general settings and that's the settings that control your experience within Webex.
Let's get started. Log into the Webex portal.

Preferences: General
First action you're going to do is click on "Preferences" on the left hand side. You're going to be brought to the general tab, the general tab will show things like time zone, language and region. Additionally, you can integrate other accounts such as Microsoft Office 365, Google and Facebook into your Webex account.

Preferences: My Personal Room
The next thing we're going to do is click on "My Personal Room".

You'll notice on top is the field for your "Personal Room name", this is the name that participants will see when joining your room. Below that, is the personal room link. This is a link you can send out to participants that would like to join your personal room. All they would need to do is click the link, put in their first name and click join to join the meeting. They then would be able to meet you in your personal room.
Now you can type in whatever you like as your personal room link, as long as it's not taken by your organization, and it is a quick link that you can use. It can be just your first name, or your first and last name (as an example).

In this example we've just put it as "Webex". Below that, is the host PIN.
The host pin is leveraged if you join the meeting from a video endpoint. So if you walked into a room, you clicked "Join" on a Touch 10, or if you join the meeting by typing the SIP URI. It would then ask if you are the host, you then could click "yes" or "no" and if you clicked "yes", you would then enter your host pin.
Preferences: My Personal Room > Automatic Lock
The next section is automatic lock. The automatic lock feature automatically locks your personal room after a set period of time.

The set period of time is controlled in this setting and it can be seen by checking the box and hitting the down arrow. You can set it to automatically lock your room after 5 minutes, 10 minutes, 15 minutes or 20 minutes. This is great if you have confidential information that you're sharing in a meeting.
However, for our personal preferences, typically I like to leave it disabled because often times when people join late, I don't notice that people are waiting and the room is locked. I then get a text message from a participant saying, "hey I'm locked out of the meeting, let me in", so then I've got to go admit them; it's a bit of a distraction from the actual meeting. So I would disable this feature and then you won't have that issue of people being locked out of your personal room.
Preferences : My Personal Room > Notifications
This is a notification that gets sent to your email if someone just joined your room. This could be a way for you to say "hey join my room and I'll join when you jump in". You could be watching your email come in, see that someone's in your personal room and then you would just go into your personal room and meet them at that time, without having to waste any time. 
You can leave this checked or disable it if you don't think you would use that feature.
Preferences : My Personal Room > Alternate Host
There are a number of options you can use to control who can host a meeting on your behalf and those settings are pictured below.

So choose what works for you and once you're done with these settings and happy with them, click save.
Once that's saved, we're going to move over to audio and video.
Preferences : Audio and Video
The first area is what call-in number you would like to present to people joining your Webex meeting. For our location, I would pick the two closest time zone's to my location.

Below the "Call-in Number" section is the "Call Me number" section, where you can enter in your office phone and your mobile phone. Once entered, you can elect whether to display one or both of these numbers when you join a Webex. The goal of this is to make it easier for you to have a call back from Webex by just selecting numbers that you're commonly using, so typically it's your mobile phone and your desk phone.

Below that section is the Audio Pin. Now the audio pin is different than the Personal Room Pin, we set up in the last section. What we recommend is setting them to be the same unless you're doing something from a security perspective that you want to differentiate those pins for. But for ease of use and user clarity, having the same pin, whether it's audio and video type conferencing or you're leveraging your personal room, it just makes it easier from an experience perspective. So we recommend setting them the same.

Personal conferencing can be used if you want to have an audio only participant start the meeting. In order to do that, you're going to need to click on generate an account and it will generate an account for you to leverage.

It will include your host access code and an attendee access code.

You can provide this code to participants for those 'audio only' conferences. You can create up to 2 additional accounts for a total of 3 by clicking the generate an account button. This will generate an additional host code and attendee code for up to 3 accounts.
Moving down, you have the Video Systems section and this is a simple way to join video systems. 
Whether they're in the room or in your office, it gives you an easy way to select a friendly name for that room and it will automatically call the SIP URI associated with that room, and save you time when joining a meeting. Once you're happy with these settings, click save.
Preferences: Scheduling
Now let's move over to scheduling.

In the scheduling section, you'll notice the first section is meeting type. Now this allows you to set the appropriate meeting type you would like to use when scheduling a Webex.

Additionally, you can have it generate an email reminder before the meeting starts. You can send a copy of the invitation to participants and there are some additional settings around sharing recordings, requiring an account to join and also who can schedule meetings on behalf of your account.

Those settings are all controlled here and for me, I like to select the Webex personal conference room for my default meeting and I don't send an email reminder before the meeting.
Once happy with these settings, we can click save and we're all done with our preferences.
So we went through the preferences on the Webex portal, now we're going to go over scheduling a meeting and ways you can invite people leveraging Webex.
Joining with Your Computer
To schedule a meeting using the Webex productivity tools, we're going to click on a New Appointment in Outlook.

Once we open a New Appointment, we're going to give it a title and we are going to add our personal room to the meeting, which is a button option at the top on your New Appointment.

I'm going to invite participants, and additionally I'm going to invite a physical meeting room.
From here, I'm going to click send. That is scheduling a meeting leveraging the Webex productivity tools.
Now that we've scheduled a meeting using the Webex productivity tools, let's schedule a meeting without that, now just using the @Webex keyword in our New Appointment.
To do that, I will give the meeting a title and I will invite some participants.

What I'll do now is tell it I would like to set up a Webex meeting, by leveraging the location field and put the @ sign Webex. See below.

Now this requires an integration with your email system to look for this keyword, automatically integrate in, and push that invitation to Webex so that it adds all the information to your invite. So now I'm going to click send.
Now that we've scheduled our meeting with the @Webex keyword, let's reopen the meeting to take a look at what was changed.

Once you open it, you'll see that the @Webex location is still included, and it has added all of the Webex information needed to join the meeting. So that's it, by adding @Webex keyword, it will automatically add the meeting information to the invite so everyone can join seamlessly.
Joining from Your Mobile
Now let's try joining a meeting from a mobile device.
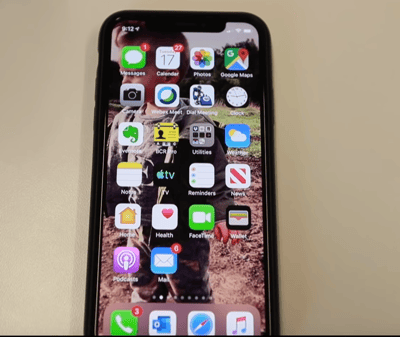
From your mobile device, you're going to open your calendar.
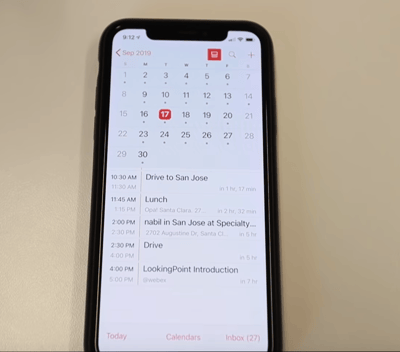
From there, open the meeting which you'd like to join.
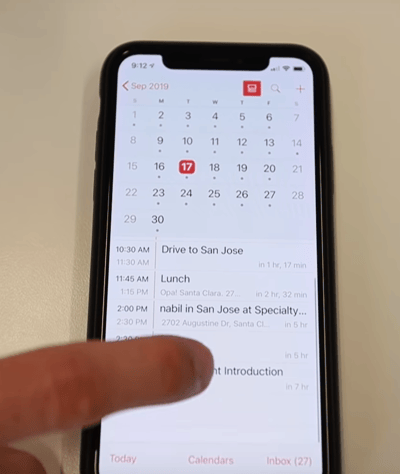
You're going to notice that there is a red phone icon. Press the red phone icon and it's going to bring up the Webex meeting.
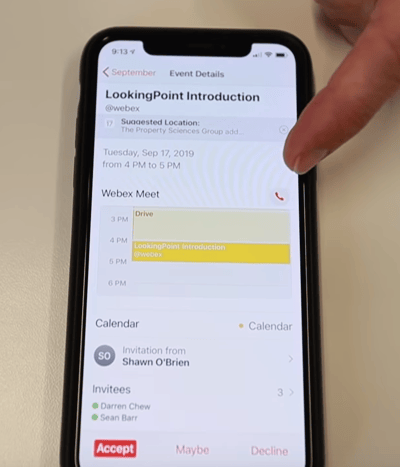
After that, it's going to connect you to the meeting.
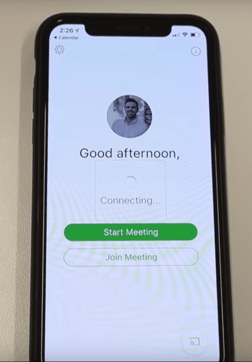
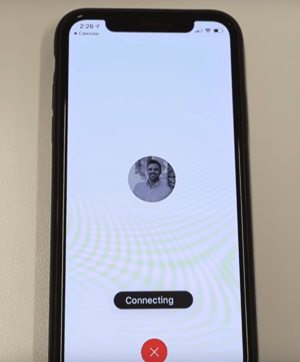
Once connected, it's going to prompt you to connect to your phone.
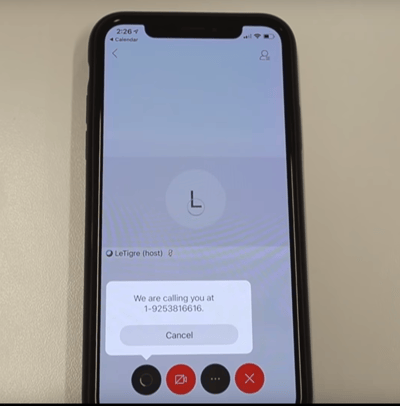
It's going to give you a call, be sure to answer the call, then Webex will prompt you to go back to the meeting.
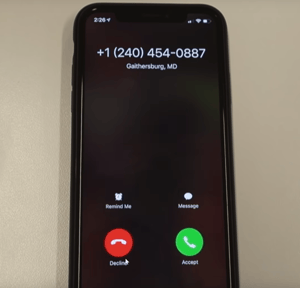
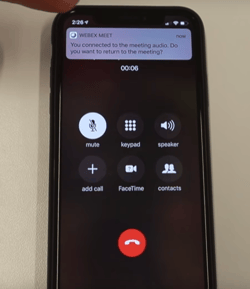
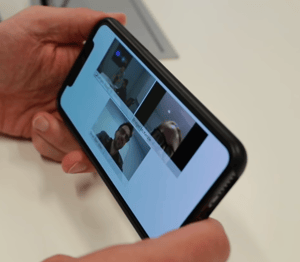
Once there, join the meeting and the video's working.
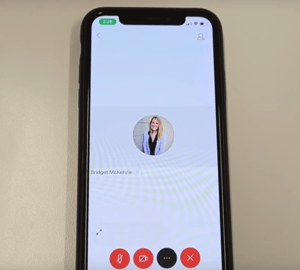
Joining with a Conference Room
Once you've scheduled the meeting leveraging the Webex productivity tools, and in order to get the Join button to appear on the Touch 10 in the conference room, you'll need to invite the room. See Below.

Once that's done and your meeting's ready to start, you'll walk into the room, touch the screen of the Touch 10 and you'll be able to see that there's a Join button.
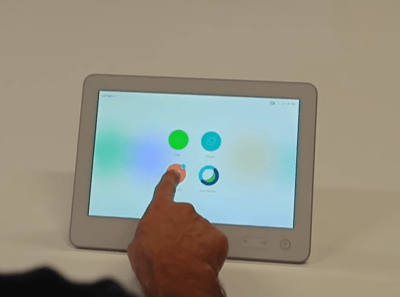
Tap the join button.
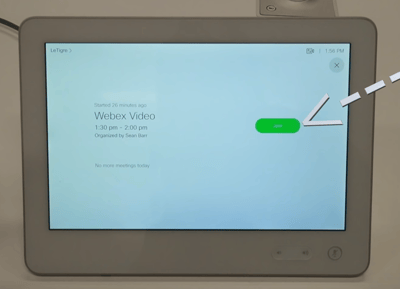
Now you're connected and you're ready for a call. Wahoo!
So what happens if you booked a room but other people are in there unexpectedly? This happens in a lot of organizations but it's no problem with Webex. You can easily go to another room, hit call, dial your SIP URI and you are still in the meeting.
However, the room that you're joining from wasn't invited to the meeting so the Join button doesn't appear.
You have 2 options here, you can either press the call button and dial the SIP URI or you can press the Join Webex button, enter the meeting ID and click join.
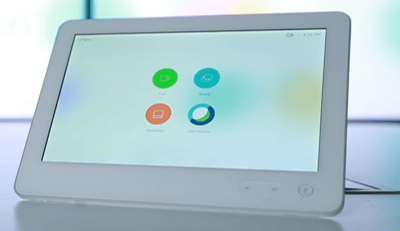
I'm going to choose to select the Webex Join button for this example.
Once in that menu, I'm going to select the top field and I'm going to enter in my Webex meeting ID.
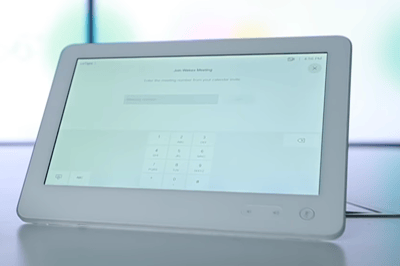
Once I've completely entered the meeting ID, I'm going to click the Join button.
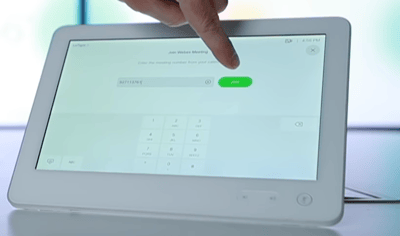
Once connected to the meeting, it's going to prompt me to enter my pin if I'm the host and I have an option to press "yes" or "no". I'm going to hit "yes", in this example, and then I'm going to enter my pin.
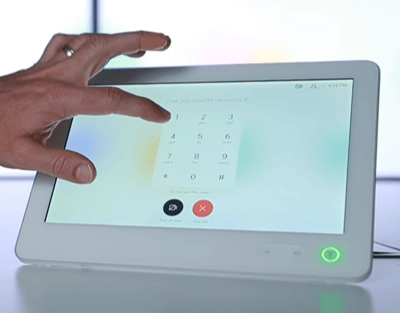
Once I've entered my pin, it's going to start the Webex personal room and I'm going to be in the meeting and ready for participants to join.
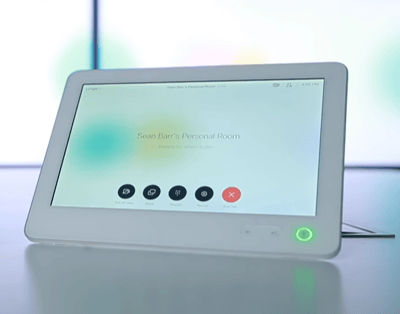
We covered a lot today, we covered the preferences of the Webex portal, we covered scheduling a meeting, we covered ways you can join the meeting. Pretty cool, right?!
Want to see the tutorial video we made on this, check it out here.
If you are not a Webex subscriber or a Webex user, you can contact LookingPoint and we can help you get set up.
As always if you have any questions on the Cisco Webex and would like to schedule a free consultation with us, please reach out to us at sales@lookingpoint.com and we’ll be happy to help!
Sean Barr, President


